Building an outdoor swimming pool with wooden pallets
With the return of sunny days, if you dream of an outdoor swimming pool in your garden without breaking the bank, you can create a solid, aesthetic, and affordable swimming pool with a bit of space and some easily accessible materials.
Materials needed for construction
- 9 wooden pallets
- 3 large waterproof tarps
- Strong straps
- Wide waterproof adhesive tape
- Old bath towels (about 10)
- Wooden planks for the edges
- Decorative accessories: reed or bamboo matting
- Hammer and nails
Here’s how to proceed in a few simple steps.
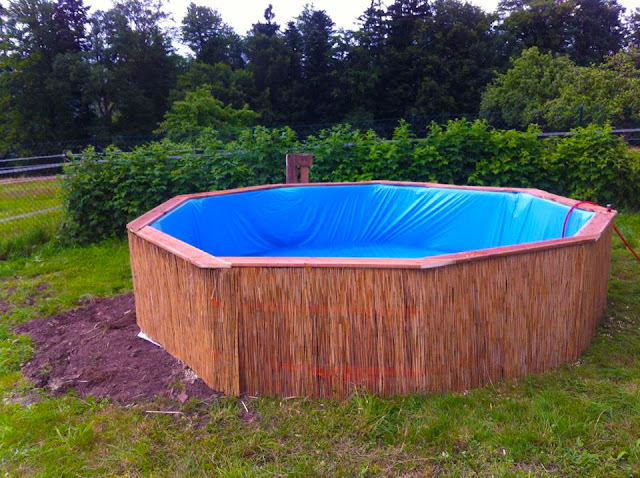
Steps for building the outdoor pool
Lay the tarps on the ground and place the pallets on them, arranging them in a circle. This layout will create the basic structure of the pool.
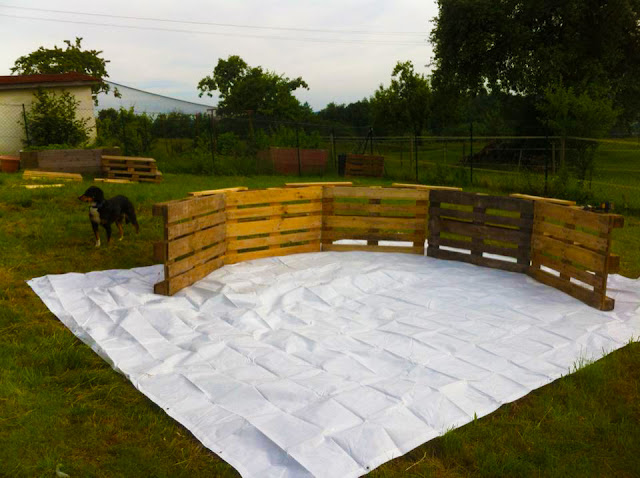
Place the pallets on a tarp laid on the ground, arranging them in a circle. This layout will create the basic structure of the pool.
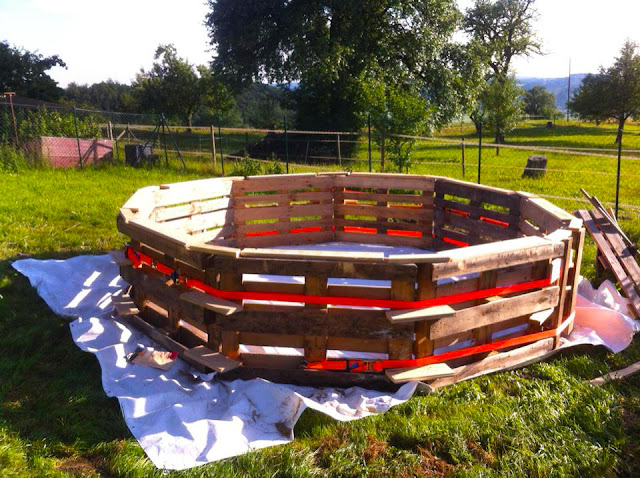
Lay a second tarp inside the structure. Then place old bath towels or rags on the inner corners of the pallets. This padding will prevent the corners from damaging the tarps and make the walls more comfortable.
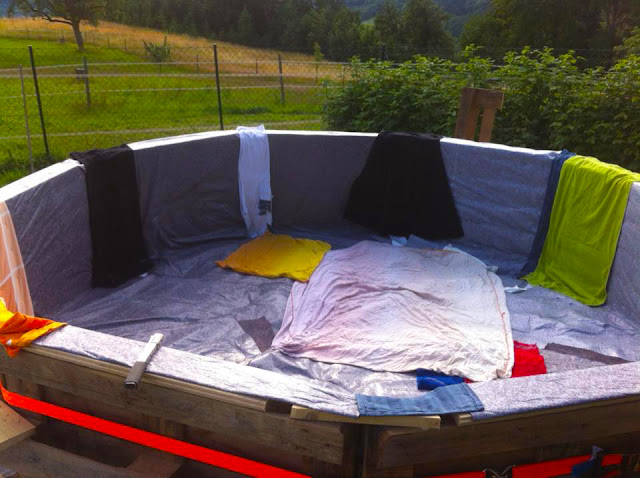
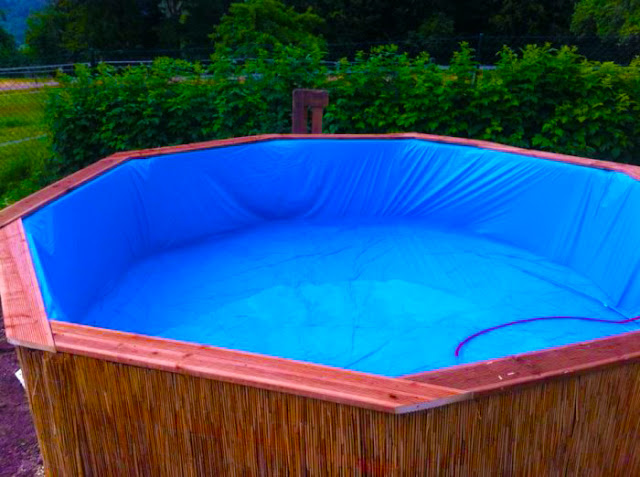
Add a third tarp, preferably thick and blue, which will be the visible and durable layer of the pool. Secure it to the edges of the pool with wide waterproof adhesive tape to ensure optimal sealing.
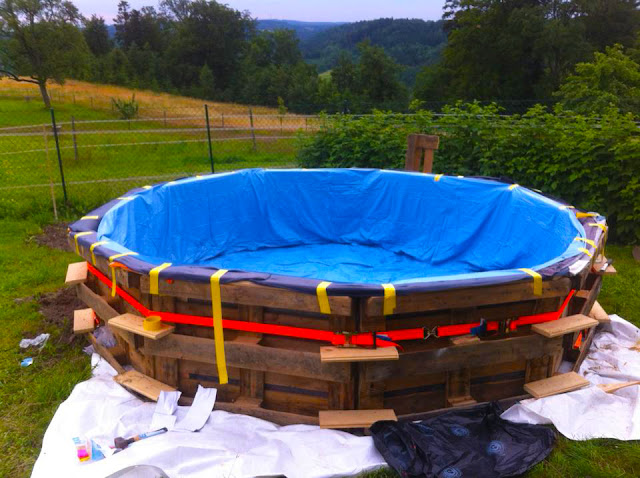
For a clean and aesthetic finish, attach wooden planks to the upper edges of the pallets. You can also wrap the exterior of the pool with reed or bamboo matting for a natural and elegant look.

Your pool is now ready to be filled with water. Once filled, test the sealing, and you can fully enjoy your new homemade swimming pool!
Tips for maintenance and durability
To extend the life of your pool, make sure to maintain the tarps properly and empty the water if you’re not using it for an extended period. By taking care of this installation, you’ll enjoy a unique, eco-friendly, and cost-effective swimming pool for the coming summer seasons.
With this homemade pool, enjoy the joys of swimming at a low cost and surprise your friends with a DIY installation that is as economical as it is original!
